We bought this little nightstand dresser 2 years ago at a yard sale. At the time we didn’t know where to put it. We can’t fit a nightstand like this in our bedroom and we already had end tables in our living room. It moved into the spare room to sit in waiting for our future kids. Over a year ago, Glidden was giving away free quarts of paint. I ordered Granny Apple green with this night stand in mind. Then, 2 weekends ago I FINALLY got around to standing and painting it. (It felt SO GOOD to get that of my to-do list after being on there for months.)
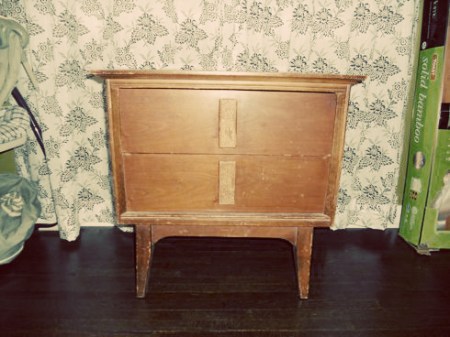
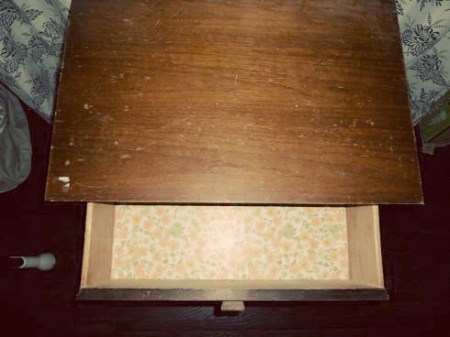
The top had a bunch of knicks and dings in it but look at the cute flowered contact paper inside the drawers! That stays.
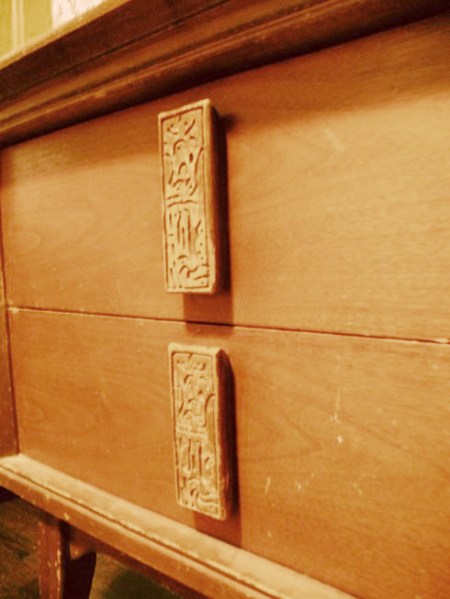
The first order of business was to take off these hideous handles. Have you ever seen anything like this? It looks like it was hand-crafted by drunk termites.
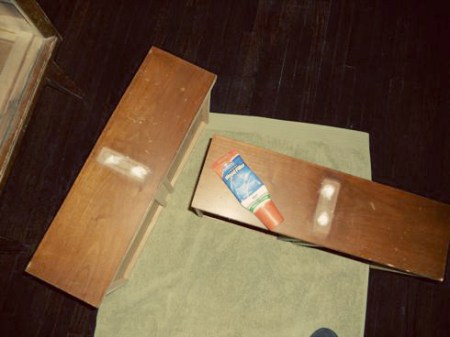
After I got those suckers off, I filled the screw holes with wood filler. Here’s the part where I begin to just wing it. Jason usually does this kind of stuff and I just supervise. I followed the direction the tube and waiting for it to dry a bit, then sanded it. I started sanding the dresser top and the drawer fronts too. That got old really quick.
Thankfully, paint covers and fills most minor scratches. I did give the whole thing a rough sand so the paint would stick better and then wiped it clean with a damp cloth. The first coat of paint didn’t cover very well. I did my best not to have a bunch of drips (again, Jason usually does this kind of project. I am NOT a perfectionist!) I wasn’t concerned about our old patio table because it’s sagging and it’s going to be replaced this summer when we build a new one. I waited a few hours for the first coat to dry (while I went on to paint the chalkboard door). The second coat covered much better.
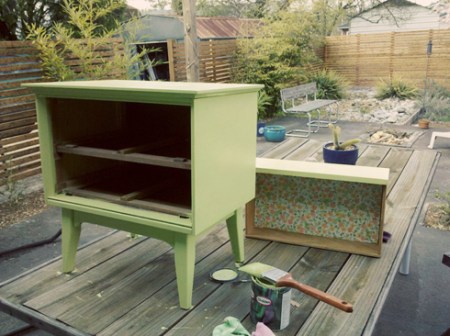
I let the nightstand rest and cure for a full week before I put anything on it. Even after that, I put a semi-heavy boom box on it and the next day it was stuck. Thankfully it didn’t leave a mark when I pulled it off. I wonder how much longer it needs to cure. Anyone? Or maybe it needs a clear coat?
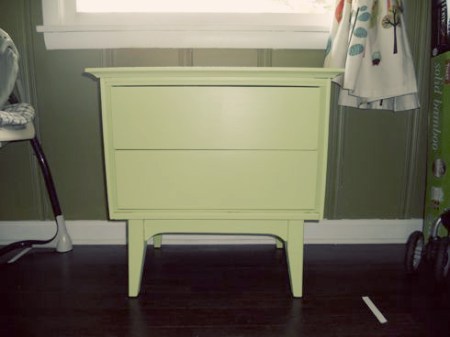
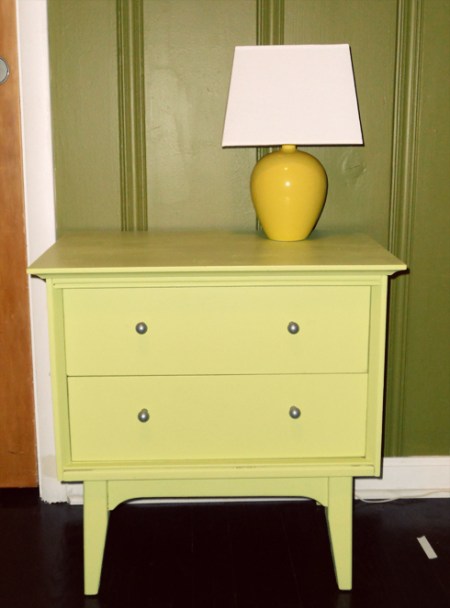
I was going to buy new knobs but Jason reminded me that we had some in the tool box from IKEA years ago. (I can’t even remember what we used these for originally.) We had 4 so I decided to do 2 on each drawer. I’m very happy with how it turned out and pretty darn proud of myself for doing this all on my own. (Color is more accurate above… the flash here makes it look more yellowish than it is.)

I’ll buy the old knobs from you!
Seriously?! I think they’re still in the waste basket…
LOVE IT!! i actually want a night stand SO similar to this (i’m not sure where i saw the first image – maybe google sketchup) and i just got this vision of one so similar, painted in yellow to go in our bedroom to match our gray/yellow quilt. with maybe even some sort of print/paper on top. someday maybe i’ll find one! anyway, this is awesome! i love it.
Thanks, Amy!
Nice job!
Thanks! Jason was impressed. 😉
[…] We are also in hyper-nesting mode preparing our home with projects (like the chalkboard door, repainting the nightstand, finishing up the fence) and researching and shopping for kid stuff (like strollers, cribs, beds, […]
Nightstand looks great!
I am very impressed! Great painting job lady!
[…] can be flipped over into a loft/bunk bed, both from IKEA. We already have a sturdy vintage 2 drawer nightstand and a vintage yellow table lamp. We plan to add a 4×6 rug, a chair for reading books, shelves […]
[…] the essential pieces of sleeping furniture, we have our little green 2 drawer dresser and yellow lamp and a full length mirror for the wall (I read somewhere that mirrors promote good […]
[…] on the bed was a wedding gift handmade by a friend. The reading chair (reupholstered), night stand (painted), green crib sheet from Pottery Barn, stacking ring toy and full length mirror (painted) are all […]